Whether you’re a budding electrician, a seasoned professional, or simply a curious enthusiast, mastering a digital multimeter is a skill that is both necessary and rewarding. The electric current, the lifeblood of our devices and appliances, is invisible to the naked eye, yet we can ‘see’ it with the help of a digital multimeter. It measures the flow of electrical charge, helping us ensure our devices function correctly, diagnose issues, or even experiment with our electronic projects.
Here, we will focus on using a digital multimeter to measure both direct current (DC), commonly found in batteries, and alternating current (AC).
Understanding Electric Current
Electric current refers to the flow of electric charge or the “river” of electrons that carry energy from one point to another. It can be either direct (DC), where electrons flow consistently in one direction, or alternating (AC), where electrons periodically switch directions.
Confirm the status of the multimeter
Identify the type of your multimeter: Check your multimeter whether it’s an auto-range or manual range. The identification usually will be stated in your multimeter’s manual or marked somewhere on the multimeter.
For auto range multimeter, you can measure directly after selecting the corresponding gear, but for manual range, you need to measure from the largest gear down to avoid burning the meter. If you know your measuring range, you can directly hit the corresponding measuring range to measure directly.

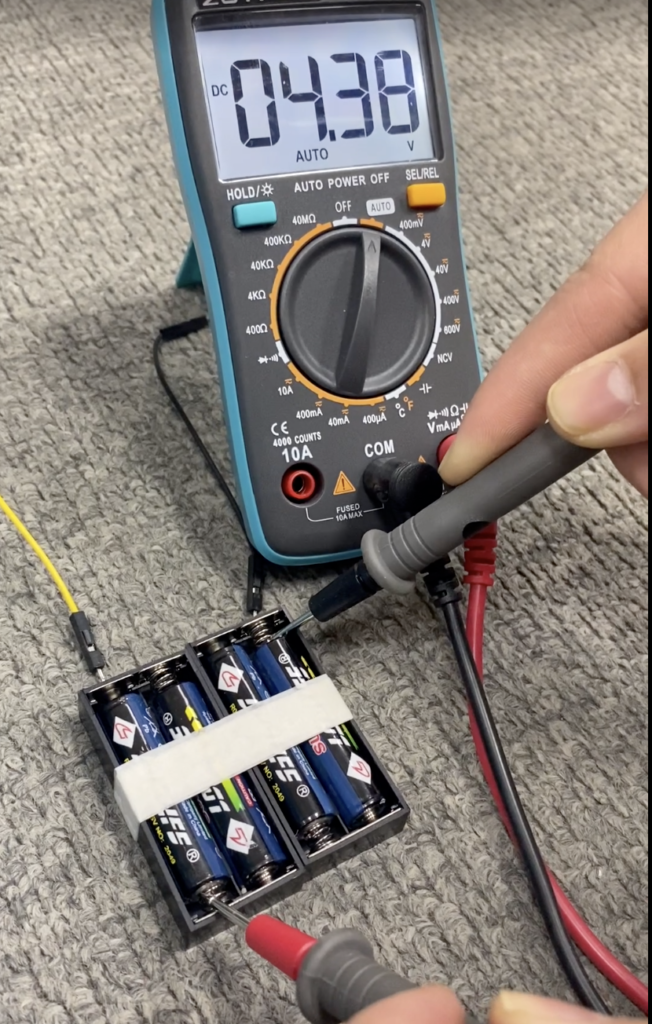
Measuring DC Current
DC current powers batteries and most electronic devices. Here’s a step-by-step guide to measuring DC current with your multimeter:
1. Set the multimeter to measure DC current, typically indicated by an ‘A’ with a straight line.
2. Select the current range that corresponds to the expected current. If unsure, start with the highest setting.
3. Set up the circuit by disconnecting it and connecting the multimeter in series with it. Attach the black probe to the more negative side, and the red probe to the more positive side.
4. Read the measurement on your multimeter’s display. If it’s zero or less than expected, double-check your connections.
Note: Start from the highest current range to prevent potential damage due to unexpected high currents.
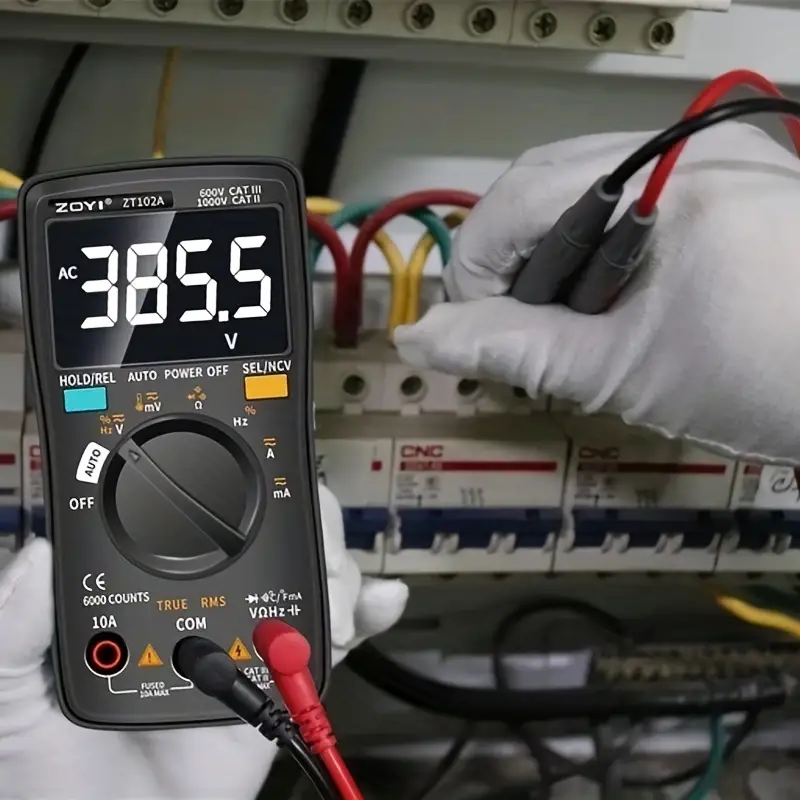
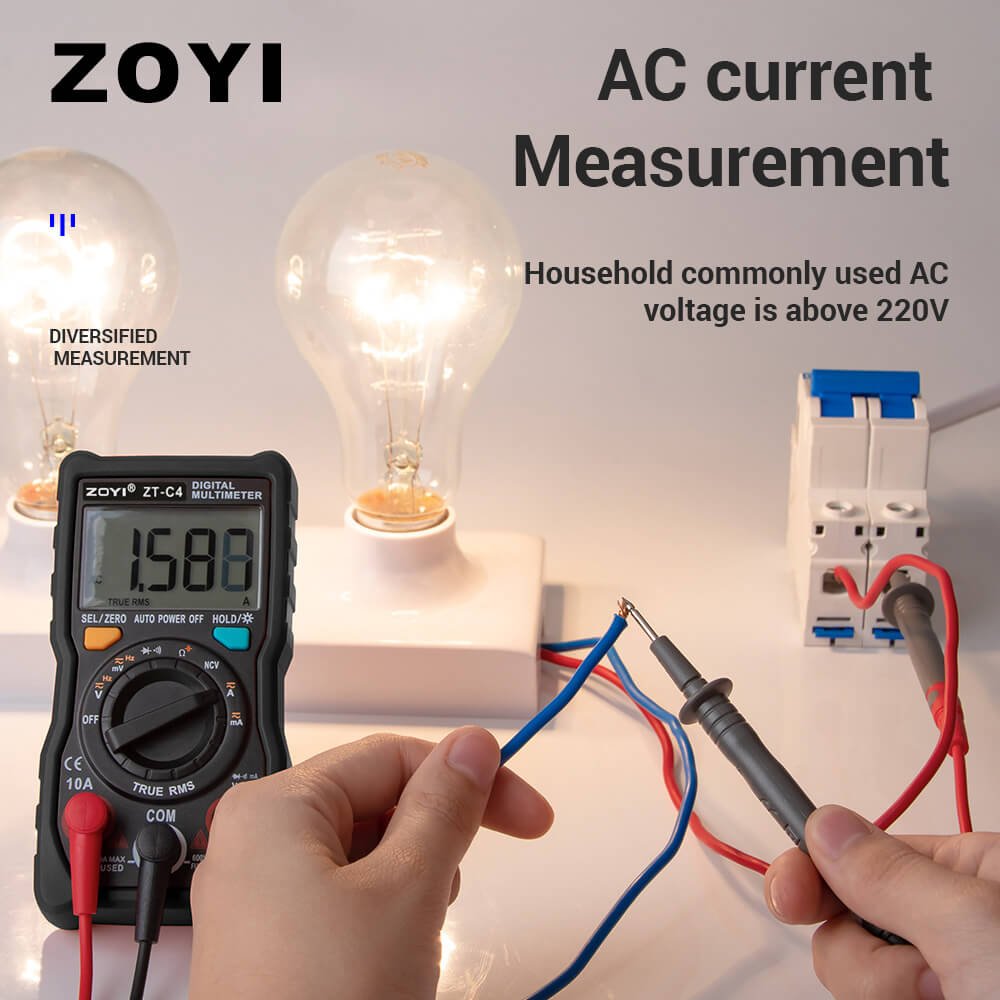
Measuring AC Current
AC current is the force behind mains power and appliances connected to the power grid. Follow these steps to measure AC current:
1. Set the multimeter to measure AC current, usually represented by an ‘A’ with a wavy line.
2. Select the current range. If uncertain, choose the highest setting.
3. Set up the circuit by disconnecting it and connecting the multimeter in series.
4. Read the measurement on the display of your multimeter.
Note: Exercise caution when measuring AC current due to the higher voltages typically involved.
Safety First& Enhancing Your Current Measurement Strategy
1. Refer to the Operating Instructions: Each multimeter model has unique features. Always consult the manufacturer’s instructions before use.
2. Identify the Correct Sockets: Errors can occur when the input and output sockets are reversed. Always verify your connections.
3. Set the Correct Measuring Range: If unsure of the expected current, start from the highest measuring range and work downwards.
4. Use Safe and Suitable Test Leads: Employ test leads that are safe and appropriate for the measurements you are conducting.
5. Consider Current Clamps for Larger Installations: For larger installations, a clamp meter can offer a safer and potential-free measurement option.